
Learn how construction workers can heat meals in 20 minutes using just 80W power with an energy efficient lunch workflow. Practical steps, tools, and tips for warm site meals.
Construction workers know the frustration of biting into a cold sandwich at lunchtime when your body needs fuel the most. Long days on site drain energy fast, and cold meals only make it worse. This guide shows you how to establish an energy efficient lunch workflow using electric lunch boxes that deliver hot, satisfying meals in just 20-30 minutes, transforming your workday productivity and meal satisfaction.
Table of Contents
- Prerequisites: Tools, Equipment, And Meal Prep Requirements
- Step-By-Step Workflow For Reheating And Enjoying Warm Meals On Site
- Common Mistakes And Troubleshooting Tips
- Expected Results And Benefits From An Energy Efficient Lunch Workflow
- Alternative Heating Approaches And Their Tradeoffs
- Discover Portagrub’s Energy Efficient Lunch Solutions
- Frequently Asked Questions
Key Takeaways
| Point | Details |
|---|---|
| Quick heating | Electric lunch boxes heat meals within 20-30 minutes using 80-100W power. |
| Moisture retention | Adding 1-2 teaspoons of water prevents drying and maintains meal texture. |
| Hygiene priority | Proper cleaning after each use and secure sealing prevent bacterial growth and leaks. |
| Power flexibility | Cordless models offer mobility but need full charging for complete heating cycles. |
| Temperature maintenance | Insulated bags keep meals warm for 1-2 hours after heating during transport. |
Prerequisites: Tools, Equipment, and Meal Prep Requirements
Before you start reheating meals on site, you need the right tools and preparation strategy. Success depends on matching your electric lunch box to available power sources and preparing meals properly.
Electric lunch boxes compatible with 12V, 24V, and 110V power sources can heat meals within 20-30 minutes. Choose a model that matches your worksite power availability, whether that’s a vehicle outlet, generator, or standard wall socket. Many construction workers prefer dual-voltage models that work in trucks during transit and on site generators during breaks.
Pre-cooked meals should be portioned to fit your lunch box capacity. Most electric lunch boxes hold 1-2 compartments, so plan portions accordingly. Adding a tiny amount of water helps retain moisture during reheating, preventing dried-out food that’s unappetizing and hard to eat.
Essential Equipment Checklist:
- Electric lunch box with appropriate voltage compatibility
- Meal prep containers sized for lunch box compartments
- Vehicle power adapter for mobile heating
- Insulated carrying bag for temperature maintenance
- Access to vehicle outlets, generators, or charged batteries
Leak-proof silicone seals and secure snaps prevent spillage during transit on rugged construction sites. This matters because spills create hygiene issues and waste your prepared meals. Durability features like stainless steel containers and IPX4 water resistance help endure rugged sites.
Power Source Comparison:
| Power Type | Heating Time | Best For | Limitations |
|---|---|---|---|
| 12V vehicle | 25-30 min | Mobile workers, truck-based crews | Requires running engine |
| 110V outlet | 20-25 min | Sites with generator access | Less portable |
| Battery (cordless) | 25-35 min | Remote locations, maximum mobility | Needs full charge, limited cycles |
Workers need reliable access to power sources or fully charged batteries for cordless models. Check your worksite setup before purchasing to ensure compatibility. Many crews keep backup power banks or spare batteries to avoid meal heating failures during long shifts.
Pro Tip: Pre-portion meals the night before and store them in the fridge. Cold meals actually heat more evenly than room temperature food, giving you better results when you plug in at lunchtime.
Step-by-Step Workflow for Reheating and Enjoying Warm Meals on Site
Now that you have the right equipment, follow this proven sequence to heat meals efficiently every day. This workflow takes 25-35 minutes from start to finish, fitting perfectly into standard lunch breaks.
1. Prepare Your Meal Container
Pre-portion your pre-cooked meal into the lunch box container, filling it about 80% full to allow heat circulation. Overfilling prevents even heating and can cause lid seal problems. Separate wet and dry components if your lunch box has multiple compartments.
2. Add Moisture
Adding water before heating helps retain meal moisture and prevents drying. Use 1-2 teaspoons per compartment, sprinkling it over rice, pasta, or meat. This small amount creates steam that keeps food from becoming rubbery or crusty.
3. Connect Power Source
Plug your electric lunch box into your vehicle adapter or site power outlet. For cordless models, ensure the battery shows full charge before starting. Partial charges result in incomplete heating cycles that leave food lukewarm.
4. Heat to Serving Temperature
Electric lunch boxes heat meals within 20-30 minutes to serving temperature. Set a timer and continue working. Most models have indicator lights that show when heating is complete. Avoid opening the lid during heating, as this releases heat and extends the cycle.
5. Transport Safely
Insulated bags keep meals warm for 1-2 hours after heating. If you’re eating away from your heating location, transfer the lunch box into an insulated carrying bag immediately after unplugging. This maintains temperature and protects against bumps during transport.
6. Clean Thoroughly
After eating, wipe down containers with hot soapy water. Remove any food residue from heating elements and seals. Proper cleaning prevents bacterial growth and maintains heating efficiency for your next use.
Quick Reference Steps:
- Fill container 80% full with pre-cooked food
- Add 1-2 teaspoons water per compartment
- Connect to appropriate power source
- Heat for 20-30 minutes without opening
- Transfer to insulated bag if transporting
- Clean all components after use
Pro Tip: Keep a set of nutritious lunch recipes that reheat well, like stews, curries, and pasta dishes. Avoid foods that don’t heat evenly, such as leafy salads or crispy fried items that turn soggy.
Common Mistakes and Troubleshooting Tips
Even with the right equipment, mistakes happen. Here’s how to avoid the most common errors that lead to cold, dry, or unsafe meals.
Skipping the Water Step
Not adding water causes overheating and dry, unevenly heated food. Many first-time users forget this critical step and wonder why their chicken turns rubbery. Water creates steam that distributes heat evenly and keeps proteins tender. Always add moisture before heating, even if your meal looks wet enough.
Insufficient Battery Charge
Failing to fully charge cordless batteries leads to incomplete heating cycles. You’ll notice your meal is warm but not hot, or heating stops partway through. Charge your lunch box overnight or keep a backup battery pack. Check charge indicators before leaving home each morning.
Ignoring Seal Maintenance
Check your lunch box seals and lid snaps regularly for wear or food buildup. Damaged seals leak during transport, creating messes in your truck or tool bag. Replace worn gaskets immediately and clean seals after every use to maintain their effectiveness.
Poor Cleaning Habits
Skipping regular cleaning fosters bacterial growth and food safety risks. Leftover food particles create odors and contamination. Wash all removable parts with hot soapy water daily. Deep clean heating elements weekly using a damp cloth, ensuring the unit is unplugged first.
Troubleshooting Common Issues:
- Food cold in spots: Add more water and stir contents halfway through heating
- Heating takes too long: Check power connection or battery charge level
- Leaks during transport: Inspect and replace seal gaskets, ensure proper lid closure
- Unusual odors: Deep clean all components and heating elements
- Unit won’t power on: Verify power source compatibility and check fuses
Inspect your lunch box for damage to containers or heating elements regularly. Cracks in containers reduce heating efficiency and create safety hazards. Replace damaged components immediately rather than risking meal quality or equipment failure.
Pro Tip: Keep a small cleaning kit in your truck with dish soap, a sponge, and paper towels. Quick cleanups right after eating prevent food from drying onto surfaces, making your end-of-day cleanup much easier.
Expected Results and Benefits from an Energy Efficient Lunch Workflow
What can you realistically expect when you implement this workflow? Understanding the measurable outcomes helps you evaluate whether this approach fits your needs.
Meals heat to serving temperature within 20-30 minutes using about 80-100 watts. This low power consumption means you can run your lunch box from a vehicle without draining the battery significantly. Compare that to a microwave’s 1000-1500 watts, and you see why electric lunch boxes work so well on construction sites.
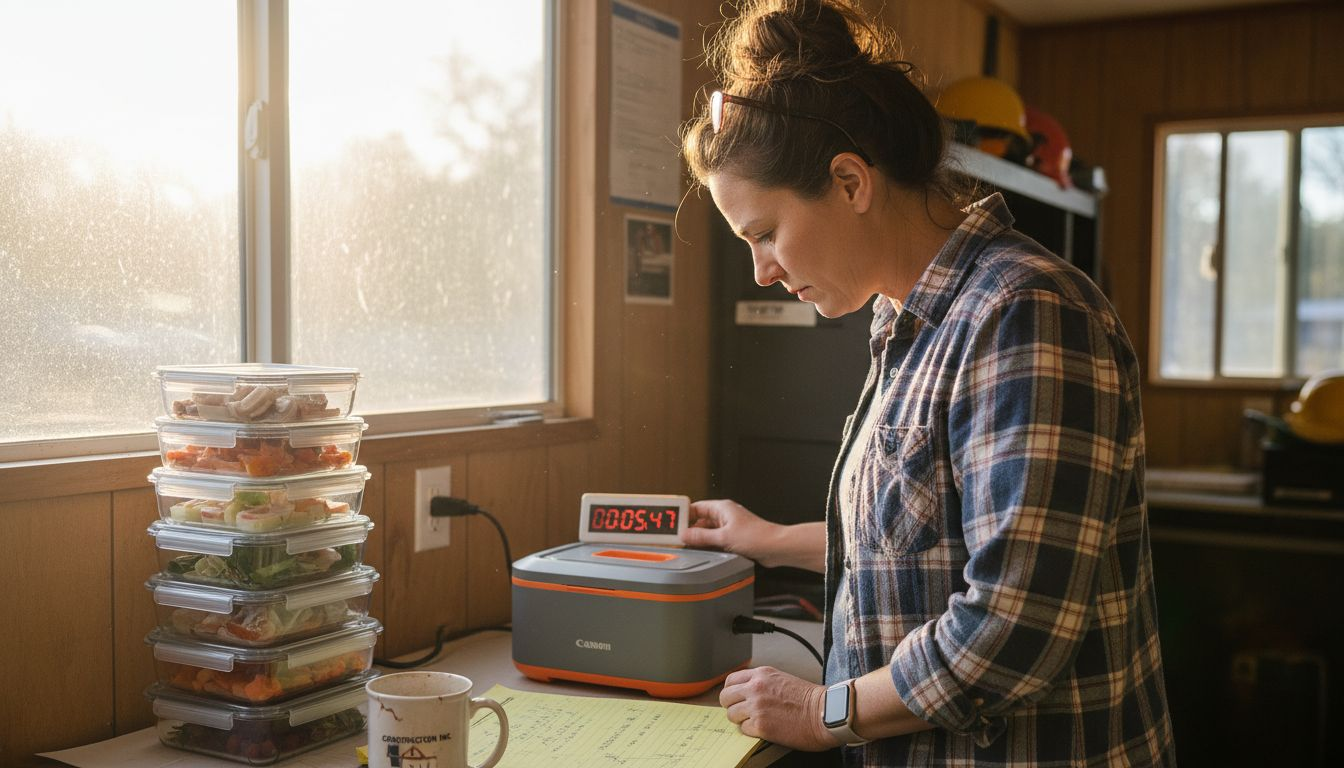
Heating retains meal moisture and taste when water is added. You’ll notice that reheated meals taste fresher and have better texture than cold sandwiches or snacks. Proteins stay tender, rice remains fluffy, and sauces don’t separate or dry out.
Performance Metrics:
| Metric | Expected Result | Impact |
|---|---|---|
| Heating time | 20-30 minutes | Fits standard lunch breaks |
| Power consumption | 80-100 watts | Minimal battery drain |
| Temperature retention | 1-2 hours in insulated bag | Flexibility in meal timing |
| Energy cost per meal | Less than 2 cents | Economical daily use |
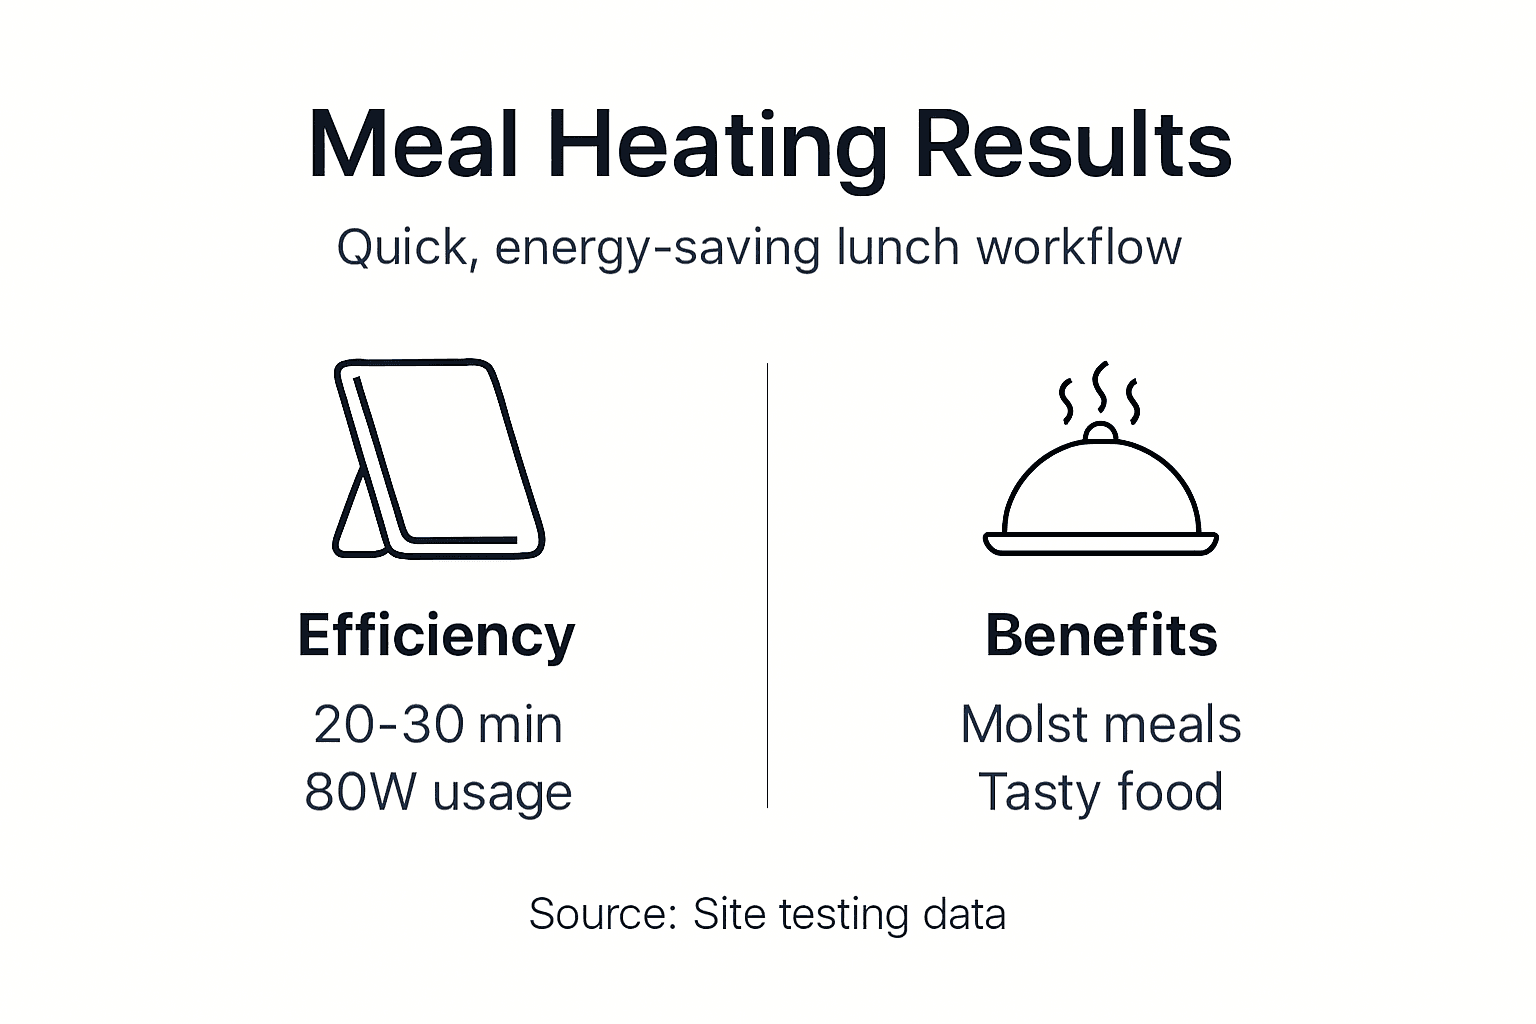
Insulated bags keep meals hot for 1-2 hours after heating, giving you flexibility in when you eat. If work demands delay your break, your meal stays warm instead of cooling down immediately. This benefit matters during deadline-driven projects when breaks shift unexpectedly.
Workers report increased satisfaction and energy levels during shifts with warm meals. Hot food provides psychological comfort that cold meals lack, especially during winter months. Better nutrition and meal satisfaction translate to sustained energy through afternoon work periods.
“Switching to a heated lunch box changed my workday completely. I actually look forward to lunch now instead of dreading another cold sandwich. My energy stays steady all afternoon, and I’m not fighting through that 2pm slump anymore.” – Construction supervisor, Dublin
Key Benefits You’ll Experience:
- Consistent access to hot, satisfying meals regardless of site conditions
- Reduced reliance on expensive takeout or fast food
- Better nutrition from home-cooked meals that taste fresh
- Improved afternoon energy and reduced fatigue
- Cost savings of 50-70% compared to daily restaurant meals
Energy efficient lunch workflows minimize downtime because heating happens during your break without requiring trips to restaurants or waiting in line. You eat better food faster, giving you more time to rest before returning to work.
Alternative Heating Approaches and Their Tradeoffs
Electric lunch boxes aren’t your only option for warm meals. Understanding alternatives helps you make informed decisions based on your specific worksite conditions.
Corded electric lunch boxes provide reliable heating when connected to site or vehicle power. They heat consistently and don’t require charging management. The downside is you need proximity to power sources, limiting mobility during breaks.
Cordless electric lunch boxes offer portability but require charging management. You can eat anywhere on site without power cable constraints. However, battery capacity limits heating cycles, and forgetting to charge leaves you with cold food. Most cordless models provide 2-3 heating cycles per charge.
Traditional insulated bags keep food warm but do not heat it actively. If you pack a hot meal in the morning, it might stay warm until lunch, but this approach doesn’t work for cold pre-cooked meals. Temperature drops significantly over 4-5 hours, especially in cold weather.
Microwaves heat quickly but are usually unavailable on construction sites. Even when present, shared microwaves create lines and time pressure during breaks. You also need access to break rooms, which aren’t always near your work area.
Heating Method Comparison:
| Method | Heating Time | Portability | Power Needs | Cost |
|---|---|---|---|---|
| Corded electric lunch box | 20-30 min | Medium | 12V/110V outlet | €40-80 |
| Cordless lunch box | 25-35 min | High | Battery charge | €60-120 |
| Insulated bag only | N/A (passive) | High | None | €15-30 |
| Microwave (if available) | 2-5 min | None | 110V outlet | Facility-dependent |
| Portable camping stove | 10-15 min | Low | Fuel canisters | €30-60 + fuel |
Stove-top or camping heaters are bulky and less convenient for daily use. They require carrying fuel, monitoring cooking, and dealing with cleanup. These work better for remote multi-day projects rather than daily lunch breaks on standard construction sites.
When to Choose Each Option:
- Corded electric lunch box: Best for workers with consistent vehicle or site power access
- Cordless lunch box: Ideal for remote locations or maximum mobility needs
- Insulated bag: Supplement to any heating method for temperature maintenance
- Microwave access: Use when available, but don’t rely on it as primary solution
- Camping stove: Only for extended remote projects without any electrical power
Most construction workers find corded electric lunch boxes offer the best balance of reliability, convenience, and cost. Cordless models suit specialized situations where mobility outweighs charging concerns.
Discover Portagrub’s Energy Efficient Lunch Solutions
Ready to transform your workday meals? Portagrub offers everything you need to implement an energy efficient lunch workflow that keeps you fueled and focused on site.
Our durable, leak-proof meal prep containers are specifically designed for construction workers who need reliable performance in demanding conditions. Each container features reinforced corners and secure anti-leak lids that prevent spills during transport across rough terrain.
Pair your containers with our 12/24V vehicle adapter for seamless mobile heating during breaks. The adapter works with most electric lunch boxes, giving you flexibility to heat meals wherever you park. Our insulated carrying bags maintain temperature for hours after heating, ensuring your meal stays hot even when work delays your break.
Explore Portagrub’s complete range of lunch solutions designed specifically for workers who refuse to compromise on meal quality. Visit our site today and start enjoying restaurant-quality warm meals on your terms.
Frequently Asked Questions
How long does it take to heat a meal in an electric lunch box?
Most electric lunch boxes heat meals to serving temperature in 20-30 minutes. Heating time varies slightly based on food type, starting temperature, and power source voltage. Dense foods like stews may take closer to 30 minutes, while lighter meals like rice and vegetables heat in about 20 minutes.
What if I don’t have access to power at the worksite?
Battery-powered cordless electric lunch boxes solve this problem by providing 2-3 heating cycles per full charge. Alternatively, use your vehicle’s 12V or 24V outlet with a compatible vehicle adapter during breaks. For completely remote locations, consider packing hot meals in high-quality insulated containers that maintain temperature for 4-5 hours.
How do I keep meals from drying out during reheating?
Add 1-2 teaspoons of water to each compartment before heating. This creates steam that distributes heat evenly and prevents food from becoming dry or rubbery. For extra moisture retention, cover food with a damp paper towel inside the container before sealing the lid.
What cleaning steps are essential after using my lunch box?
Wash all removable containers and lids with hot soapy water immediately after use. Wipe heating elements with a damp cloth while the unit is unplugged and cooled. Clean silicone seals thoroughly to remove food particles that can cause odors or leaks. Deep clean the entire unit weekly to maintain hygiene and heating efficiency.
Can I use regular meal prep containers inside the electric lunch box?
Most electric lunch boxes require their included containers because they’re designed to fit the heating elements properly. However, you can prep meals in separate storage containers and transfer food into the lunch box containers before heating. This approach lets you batch-prep multiple meals while ensuring proper heating compatibility. Check your lunch box manual for compatible container materials and sizes.
Are there specific foods that reheat better than others?
Yes. Stews, curries, casseroles, pasta dishes, and rice-based meals reheat excellently and maintain moisture well. Try these nutritious lunch recipes designed specifically for reheating. Avoid foods that turn soggy when steamed, like breaded items or fresh salads, which are better eaten cold or fresh.